Ascent is Viper country. Here are the execute walls, mid screen, and Snake Bite post-plant lineups that win A and B rounds outright.
By Mauk HK
Ascent is, round after round, the single best map for Viper in VALORANT. The two sites are enclosed boxes with limited entry points, the mid funnel is narrow, and the spike-plant geometry is tight enough that one well-placed Snake Bite can stall a defuse on its own. That combination of a bisecting wall plus reliable post-plant mollies is exactly the toolkit Viper is built around, which is why she posts some of her highest win rates of any map here.
This guide is split by the two phases that matter most: the execute (cutting a site in half with Toxic Screen and locking mid with a one-way), and the post-plant (Snake Bite lineups onto the standard A and B plant spots so you can hold from safety while the molly burns the spike). Everything below references real, commonly run setups. Where exact aim depends on a HUD alignment that is hard to put into words, the description points you at the landmark and the charge so you can rebuild it in a practice range.
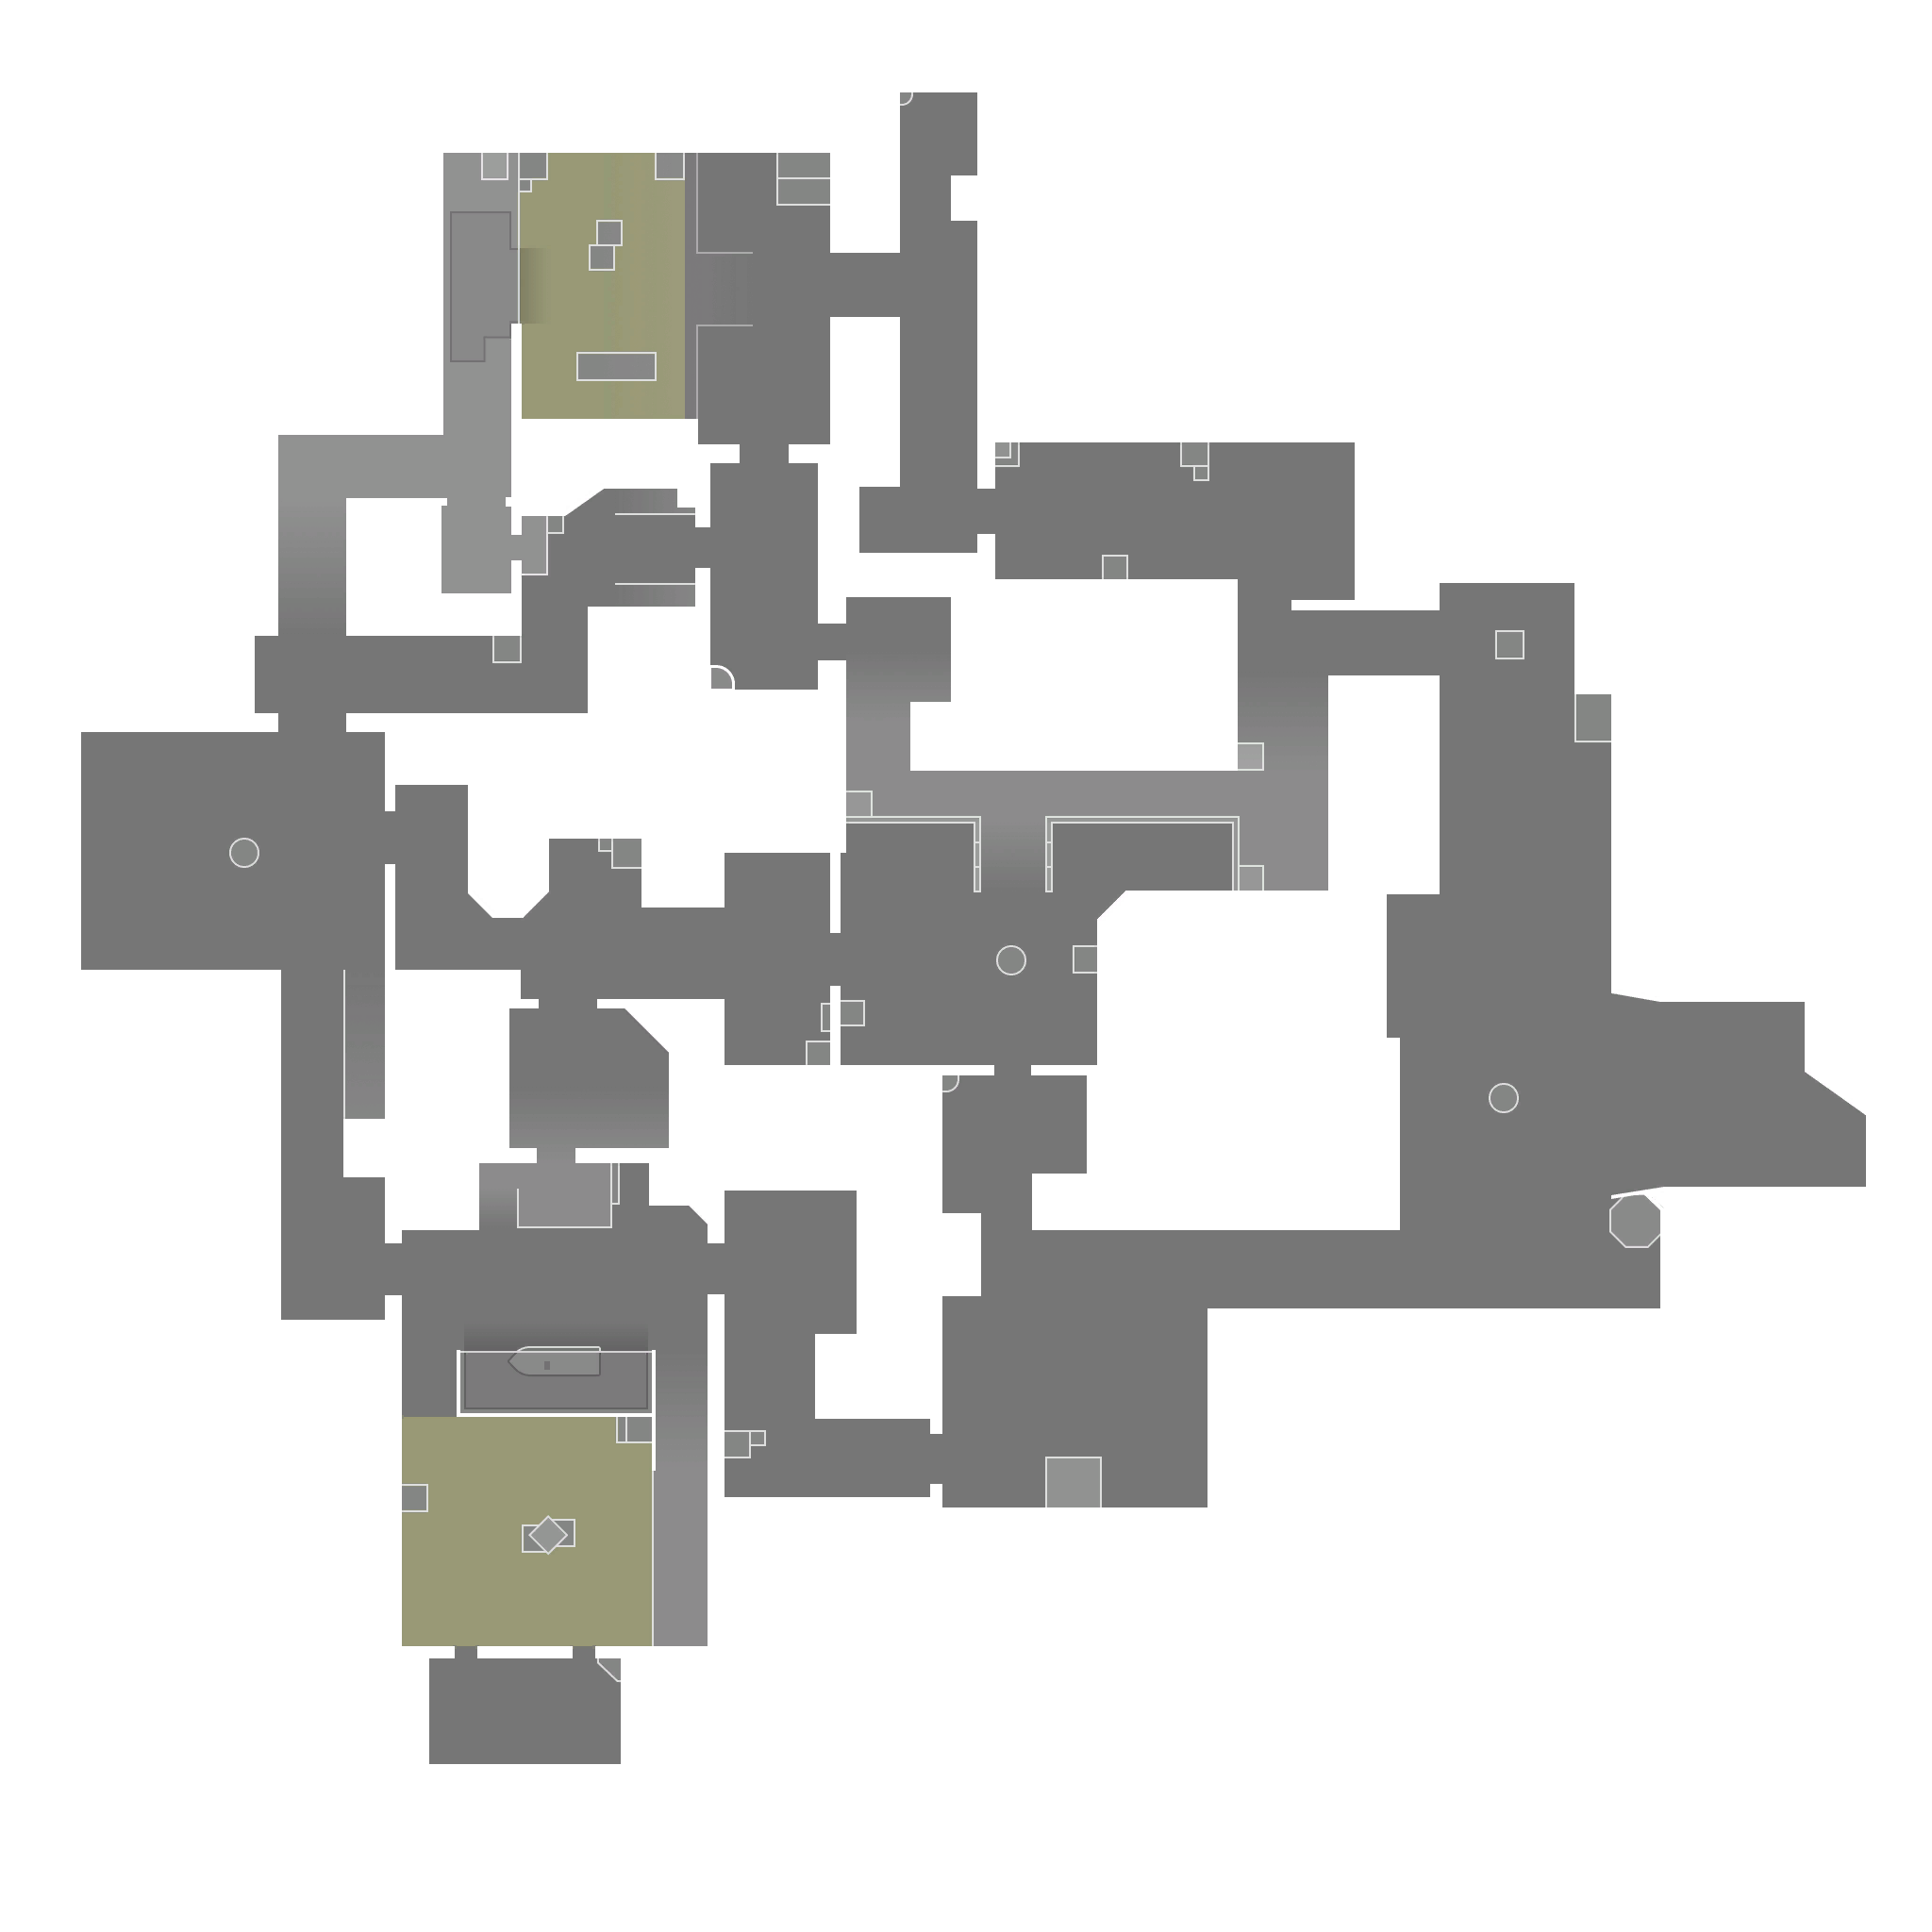
Ascent minimap - A site (upper), Mid Courtyard/Link through the centre, and B site (lower), with A Main and B Main feeding each bombsite.
Viper's Kit in 60 Seconds
Before the lineups, a quick refresher, because two of her abilities (Toxic Screen and Poison Cloud) share a single fuel bar, and managing it is half the agent.
Toxic Screen (E): a long, tall wall of toxin you place across the map at round start. It is free to deploy but only emits gas (and drains fuel) while toggled on. This is your site-splitter and your mid-control tool.
Poison Cloud (Q): a throwable orb that creates a smoke you can toggle on and off, reposition between rounds, and re-equip. Great for one-way smokes and pinching off a single choke.
Snake Bite (C): a chemical canister that pools toxic acid on the ground, doing damage and applying Vulnerable. One charge (costs 300 credits, it was reduced from two to one in patch 8.08). This is the post-plant workhorse, so spend it wisely.
Viper's Pit (X): her ultimate. A large dome of dense smoke that decays enemy health while they stand in it and gives Viper full vision inside. Round-defining on a retake or a committed site take.
Fuel: Wall and Cloud share a fuel reserve that regenerates over time. If you run both on full blast you bottom out fast, so toggle the Screen off once your team is through the choke and let it recharge.
Learn every lineup in a Custom Game with cheats on: enable infinite ability charges and the bot-spawn / show-trajectory options. Throw, watch where it lands, then nudge. Ten focused minutes in the range beats fifty rounds of guessing in a real match.
A Site: Execute Wall + One-Way
Viper's Toxic Screen (E): the site-splitting wall used for the A-site execute below. Stand in A Main and lay it across the site so it cuts off vision to Tree, Hell, Heaven, and Back Site as your team pushes in.
A Execute Toxic Screen
Stand: A Main, before you swing onto the site, with room to line the wall left-to-right across the doorway.
Aim: lay the Screen so it bisects A Site and blocks vision toward Tree, Hell, Heaven, and Back Site, the defensive angles that hold A.
Technique: standard placement, no throw. Toggle it on as the team commits, then toggle off once you are planted to save fuel for the rest of the round.
Result: defenders on the far half of the site lose vision of the plant, and your entry players only have to clear the near half before going for the spike.
A Main One-Way Poison Cloud (defensive / re-aggro)
Stand: holding A Main as a defender, with the orb already deployed near the choke.
Aim: at the top of the thinnest rectangle on the A Main architecture so the smoke sits high.
Technique: standard deploy, then toggle the cloud on while the round barrier or your hold demands it. The gap under the smoke lets you see their feet while they cannot see you.
Result: attackers pushing A Main eat free damage and reveal their push without ever seeing your crosshair.
B Site: Execute Wall
Viper's Toxic Screen (E): also runs the B-main execute below. Line your aim between the first and second tile in B Main and lay the wall to cut Market and CT off from the site as the team pushes through.
B Execute Toxic Screen
Stand: B Main, after B Lobby, hugging the left side of the wall and shifting slightly right so the wall origin is clean.
Aim: line the placement between the first and second tile in B Main, putting your crosshair toward the right corner of the bush so the Screen seals the site mouth.
Technique: standard placement; toggle on for the push, off once planted. The classic B wall is thrown from the attacker side so you can stay with your team for the entire push instead of peeling off to babysit it.
Result: the wall cuts both Market and the CT/defender entrance off from B Site, so your team only fights the players already on site rather than the whole defensive rotation.
B Main One-Way Poison Cloud (defensive)
Stand: against the left-side edge of the B Main door as a defender.
Aim: at the bottom of the lamp on the B Main ceiling.
Technique: jump-throw the orb, then toggle the cloud on. The jump lifts it just high enough that the bottom edge of the smoke leaves a sightline onto attacker feet.
Result: a one-way that prevents a clean B Main entry while you keep vision and pick the first man through.
Mid Control
Mid on Ascent is the hinge of the whole map, and Viper's Screen is the cleanest way to deny it. Laid across Mid Courtyard / Mid Link, the wall stops defenders from rotating through mid or contesting your mid-to-A or mid-to-B splits. Because the Screen is so long, a single placement can wall off both the Catwalk approach and the Mid Pizza sightline at once. Deploy it as your mid players step out, hold the toggle only while you are crossing, and let it drain off so you have fuel banked for the site execute.
Snake Bite Post-Plant Lineups
This is where Viper turns a plant into a free round. The idea is simple: after the spike is down, you stand somewhere safe, usually holding a flank or off-angle, and drop a Snake Bite directly onto the spike. The molly's damage and Vulnerable debuff mean a defuser either takes the hit and dies, or backs off and lets the clock run. With only one charge since patch 8.08 the timing matters: hold the molly until you hear or see the defuse start so the burn covers the moment they are committed, rather than wasting it early. Pair it with the rest of your team's util or your Pit if you need to deny a longer window.
Viper's Snake Bite (C): the molly used for the post-plant lineups below. From A Lobby, stand in the corner between the Radianite boxes and the wall, aim at the left-middle part of the wall behind you, and throw to land it on the Dices plant spot.
A Site Snake Bites
Dices (from A Lobby): Stand in the corner between the Radianite boxes and the wall in A Lobby. Aim at the left-middle part of the wall behind you. Standard throw. The molly arcs over and pools on the Dices plant.
Generator (from A Lobby): Same corner as the Dices lineup. Aim so the right tip of your HP HUD line sits just beneath the white dot on the generator panel. Standard throw, covers the Generator plant spot.
Dices (from A Short): Stand in the A Short corner by the dog statue. Aim the bottom tip of your Poison Cloud icon at the wire tip. Standard throw, lands on Dices, lets you molly from the Short side instead of Lobby.
Generator (from A Short): Same A Short corner. Aim the upper-right corner of your Toxin bar at the bottom-left corner of the box. Standard throw, covers Generator.
B Site Snake Bites
B Default (from B Lobby): Stand in the corner between the stall and the brick wall in B Lobby. Aim at the pipe bend on the B Main entrance wall. Standard throw, pools on the B default plant.
B Default (from B Main): Stand anywhere in B Main. Aim just below the square-shaped vents. Bounce throw. The molly bounces off the Boat House wall and drops onto the default plant.
Defender Spawn cutoff (from B Main / B Lobby): Stand in the B Main–B Lobby entrance corner. Aim at the second gap on the right-side window. Bounce throw off the Market wall, denies defender rotations onto B rather than the plant itself.
Market Door (from B Main / B Lobby): Same entrance corner. Aim slightly below the upper-right corner of the third window gap. Bounce throw off the Giraffe wall, burns anyone trying to retake through the Market mechanical door.
Quick Reference
Lineup
Stand
Aim
Notes
A Toxic Screen
A Main
Across site (Tree/Hell/Heaven/Back)
Toggle off once planted
B Toxic Screen
B Main, left wall
Between 1st & 2nd tile / bush corner
Cuts Market + CT
Snake Bite Dices
A Lobby box corner
Left-middle of back wall
Standard throw
Snake Bite Generator
A Lobby box corner
White dot on generator panel
Standard throw
Snake Bite B Default
B Lobby stall corner
Pipe bend on B Main wall
Standard throw
Snake Bite B Default (alt)
B Main
Below square vents
Bounces off Boat House
Master the two execute walls and the four A/B Snake Bites first. That core covers the majority of your rounds. Layer in the one-ways and the rotation-cutoff mollies once the basics are muscle memory, and keep one eye on your fuel bar at all times. On Ascent, a disciplined Viper does not just take a site, she keeps it.
"
A planted spike with a Snake Bite on top of it is a 1v0 against the defuser. Make them choose between dying and losing the round.